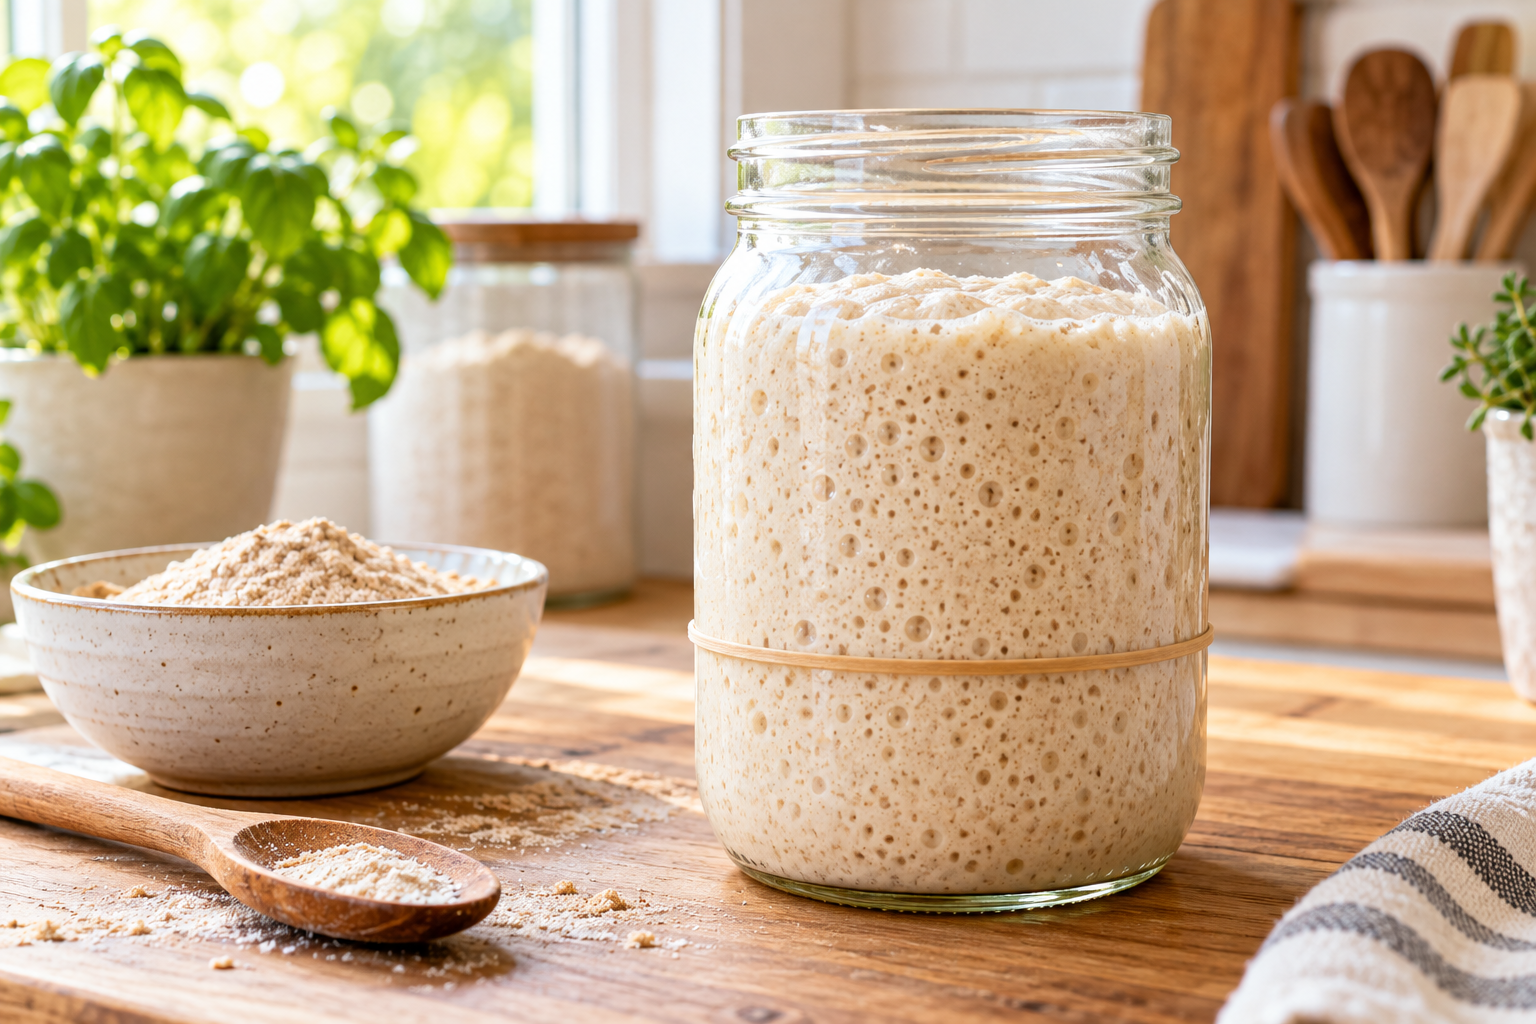

How to Make a Sourdough Starter from Scratch
Learn how to create a healthy, active sourdough starter from flour and water. This beginner-friendly guide explains the daily feeding process, what changes to expect, how to tell when your starter is ready, and how to store and maintain it for future baking.
Ingredients

Equipment
Method
- **Day 1 — Begin the starter:** Place the clean jar on a kitchen scale and set the scale to zero. Add 60 grams whole-wheat flour and 60 grams room-temperature filtered water. If measuring by volume, use approximately ½ cup flour and ¼ cup water. Stir thoroughly until no dry flour remains. The mixture should resemble a thick batter.
- Scrape down the sides of the jar. Cover it loosely with a lid or secure a clean cloth over the opening with a rubber band. Do not seal the jar tightly. Mark the top of the mixture with a rubber band or washable marker and leave the jar at room temperature for 24 hours, ideally in a comfortably warm place between 70°F and 75°F.
- **Day 2 — First feeding:** Small bubbles may or may not be visible yet; either is normal. Discard all but 60 grams of starter. Add 60 grams unbleached all-purpose flour and 60 grams room-temperature filtered water. Stir thoroughly, scrape down the jar, mark the new level, and cover loosely. Let it rest for another 24 hours.
- **Days 3 through 7 — Continue feeding:** Every 24 hours, discard all but 60 grams of starter. Feed the remaining starter with 60 grams unbleached all-purpose flour and 60 grams room-temperature filtered water. Stir, mark the level, cover loosely, and return it to its warm resting place.
- As the starter becomes active, it should develop bubbles, rise after feeding, and then slowly fall. If it begins rising and falling within 12 hours, feed it every 12 hours using the same amounts.
- **Check for readiness:** The starter is ready for baking when it reliably doubles in volume within approximately 4–8 hours after feeding and does this for at least two consecutive feedings. It should appear bubbly throughout and smell pleasantly tangy or yeasty. Some starters need longer than seven days, so continue daily feedings if necessary.
- **Maintain at room temperature:** If you bake frequently, keep the starter at room temperature and feed it every 12–24 hours. Always discard all but 60 grams before adding 60 grams flour and 60 grams water.
- **Store in the refrigerator:** If you bake less often, feed the active starter, allow it to begin rising for 1–2 hours, and then refrigerate it with the lid resting loosely in place. Feed it approximately once each week.
- **Prepare refrigerated starter for baking:** Remove it from the refrigerator 1–2 days before baking. Discard all but 60 grams, feed it with 60 grams flour and 60 grams water, and keep it at room temperature. Continue feeding until it reliably doubles within 4–8 hours.
Notes
Early activity: A starter may rise dramatically during the first few days and then appear quiet. This is normal and does not mean it is ready. Continue the feeding schedule until it rises predictably after each feeding.
Temperature: A starter develops best in a comfortably warm area around 70°F–75°F. A cooler room may slow the process, while an overly warm location can make it ferment too quickly.
Water: If your tap water is heavily chlorinated, use filtered or bottled water because chlorine may slow the starter’s development.
Liquid on top: A grayish or brownish liquid that smells like alcohol means the starter is hungry. Pour it off or stir it in, then feed the starter.
When to throw it away: Discard the entire starter if you see fuzzy mold or any pink, orange, red, or otherwise unusually colored growth. Thoroughly clean the jar before beginning again.
Unpleasant odors: Strong sour, yeasty, fruity, or mildly cheesy smells may occur while a young starter develops. If it smells rotten or putrid, discard it and begin again.
Starter discard: Throw away the discard produced during the starter’s first week. Once the starter is mature, healthy, and rising predictably, future discard may be refrigerated and used in recipes created specifically for sourdough discard.
Be patient: Seven days is only a guideline. Depending on the flour, water, and room temperature, a dependable starter may take 10–14 days or longer to develop.
Leave a Reply